four ways to add enamel to metal clay jewellery
Enamel is a great way to add colour to your silver clay jewellery designs. Metal Clay artist and Jewellers Academy tutor Anna Campbell takes you through four ways to add enamel to your silver clay jewellery
Silver clay jewellery is perfect for enamelling for a number of reasons:
we can create recesses in the clay to add enamel to
we can easily add texture that can show through transparent enamels
it is fine silver so there is no need to depletion gild (a process that you sometimes need to do to prepare sterling silver for enamelling)
lots of metal clay jewellers already have a jewellery kiln - the biggest investment you need for working with enamel
Enamel is a way to add value to your jewellery work so it’s well worth giving it a try! Here are some ideas to get you started. And if you are inspired, do check out our Beginners and Intermediate Enamelling course bundle. You can use all the techniques shown on this course with your silver clay creations.
Champleve effect
Champleve is the technique for making recesses in the metal to then add enamel using the wet packing technique. With metal clay, adding recesses is much easier than with traditional methods. Here are some ideas for adding recesses to your silver clay designs:
Texture mats
Add recesses with a deep texture mat e.g. one of the rubber mats that already has deep recesses
Cutting the clay
The piece below was made in two layers. I used a stencil. The base layer was rolled at 2 or 3 cards thick. The stencil was put on top of the clay and I used a needle tool to draw around it and left the piece aside to dry. The top layer was rolled out at 3 cards thick. I used the needle tool to cut out the shape and the recesses (these recesses were part of the stencil pattern). I left it to dry. Once both pieces were dry I sanded them and stuck them together with paste and dried them again. I fired the piece and then used the wet packing technique to enamel in the recesses
(Check out the Quikart Clay Saving templates for this type of design)
Shapes made of card
You can create your own shapes using thin card (the thickness of a greetings card) - either by cutting out your shapes with scissors or a scalpel. Or using paper punches (the butterfly in the pendant photographed was created by using a butterfly-shaped paper punch).
To make this design, I punched out a card shape, added some olive oil to the card and rolled that into the clay. If the card is hard to remove let the piece dry first and you should be able to lift it out without damaging the clay. If it is still stuck then you can fire the piece with the card in as it will just burn away to leave the recess
Enamelled silver clay butterfly pendant by Anna Campbell
Photo by Lesley Messam
Carving
Carving into the dried clay with carving tools e.g. the dockyard carving tools. To do this I would make a piece and dry it completely. You can draw your design on in pencil and carve your design. Go gently and take a little off at a time
Once the clay is fired and polished, you can use the wet packing enamelling technique to enamel in the recesses (see the course below which shows you how)
2. Cloisonne effect
In enamelling, cloisonne is when you add decorative wire elements to your design and then add wet packed enamel into the wire cells or cloisons. You can see an example of this, the green enamelled sections in the butterfly pendant pictured above.
To do this, fine silver wires are fired onto a base coat of flux (a clear transparent enamel), then filled with wet packed enamel. The enamelling course (shown below) covers how to add the silver wires and how to wet pack so while cloisonne isn’t directly shown, you can put together these techniques to achieve this effect.
3. BASSE-TAILLE
Basse-Taille is a variation of Champlevé, where engraving and recesses in the metal can be seen through the transparent enamel.
For metal clay jewellers this is a great way to highlight the texture underneath. You could use any texture you like and then add transparent enamel onto the surface of the clay using the dry sifting or wet packing techniques.
4. RONDE BOSSE
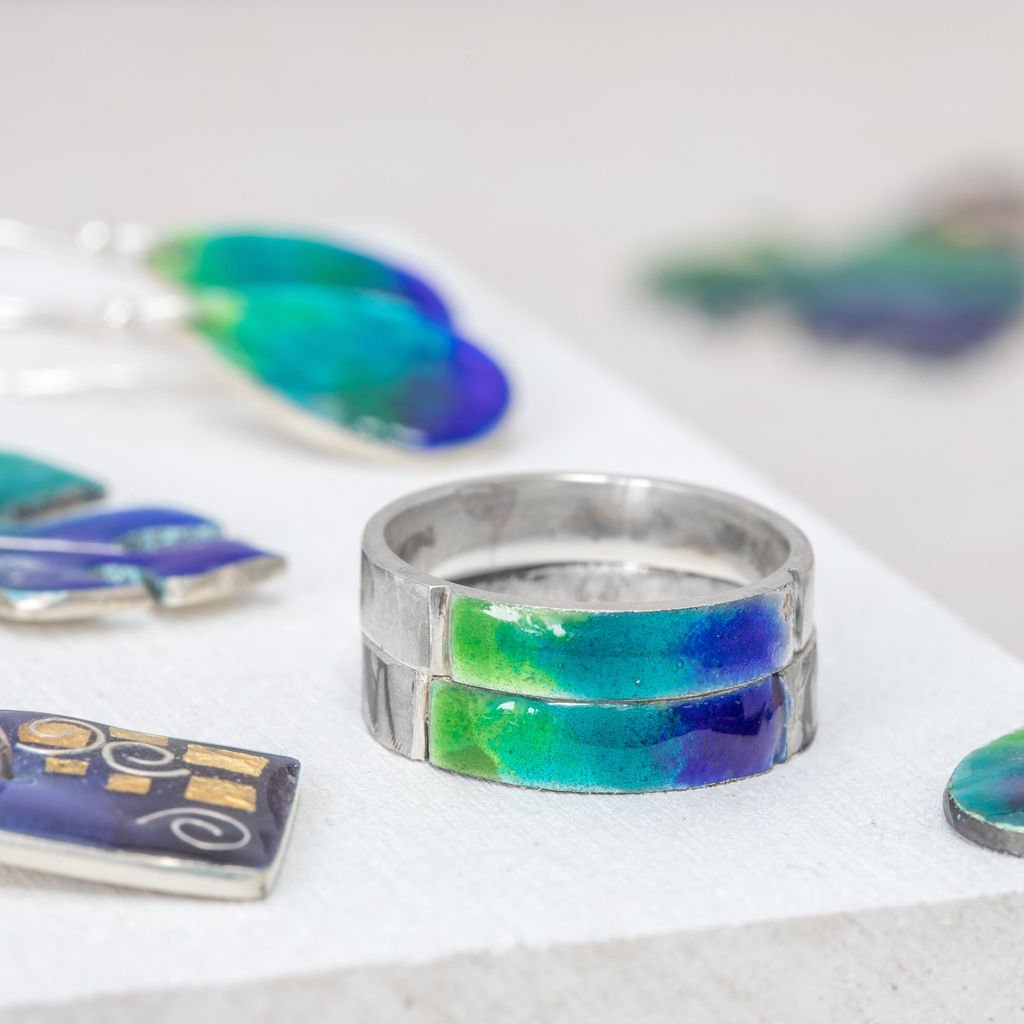
Ronde Bosse is the technique for enamelling 3-dimensional shapes e.g. rings and domed pieces. Using this technique, you can make a silver clay ring, any domed or 3-dimensional form and enamel it after firing the clay.
Tips
Always fire your silver clay pieces as it says on the instructions for the type of clay you are using. Enamelling works best on fine silver so Art Clay Silver, PMC or PMC flex are good options
Polish your pieces before you start enamelling. I suggest either hand polishing with 3M papers, using the barrel polisher or the 3M radial disks and a pendant motor. I wouldn’t use a silver polish e.g. glanol before enamelling.
If you are inspired and would like to learn enamelling then take a look at our Beginners and Intermediate Enamelling course bundle.
On these courses, taught by enamel jeweller Michelle Leaver, you will learn:
Dry sifting enamel technique
Wet packing enamel technique
Using transparent enamels to show the texture of the metal underneath
Adding decorative wire elements to your designs
The ronde-bosse technique - enamelling a rounded surface including rings and domed pieces
How to prepare a ring for enamelling
How to add foil accents to your enamel designs - gold, silver or copper foil
And much more!
All of these techniques can be used with your silver clay creations.


