a Jewellers guide to wax carving and casting
Blog
Have you heard of wax carving but are not sure what it is and how to do it? Check out our beginners guide for jewellers covering the different types of wax, how to calculate the weight of your finished metal piece, how the casting process works, how to make multiples of your designs, what size of ring you should make and much more.
What is wax carving?
Wax carving is an ancient tradition in jewellery making going back 6000 years.
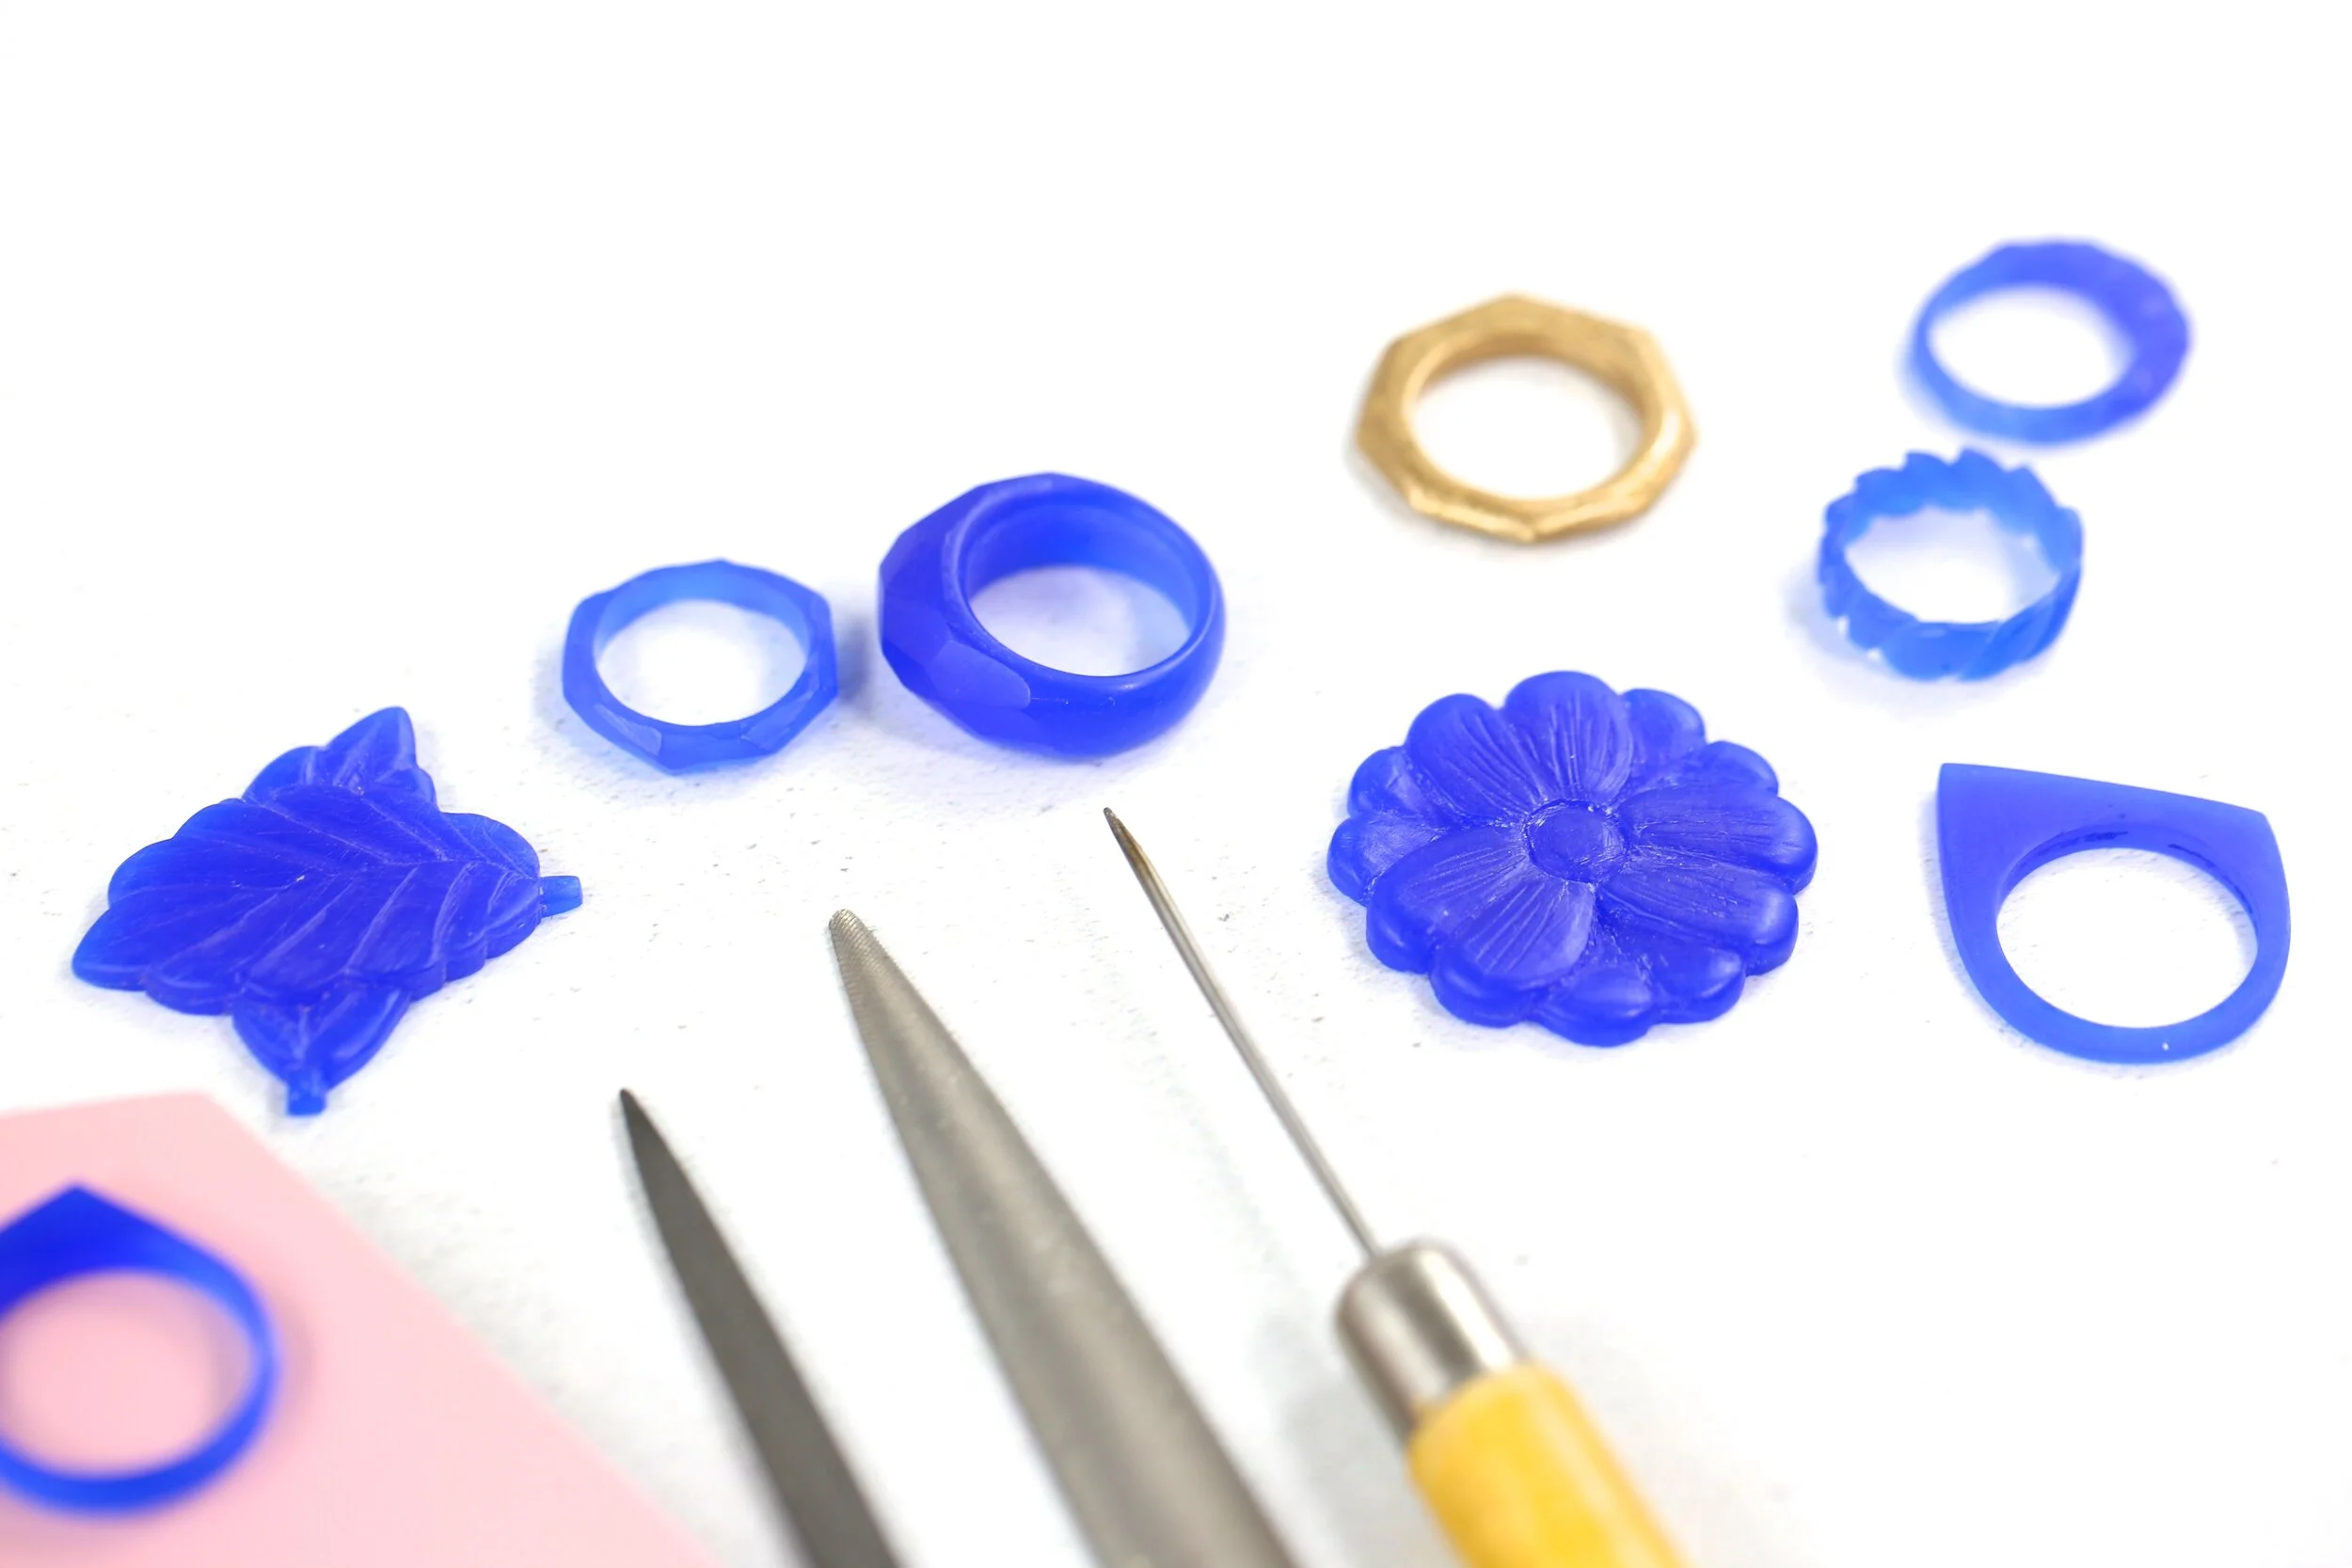
Starting with a lump of jewellers wax; you saw and file it down into the shape you require like a sculptor working with stone. Your finished wax piece is then sent to a caster to be cast in any metal you want through the process of lost wax casting.
Wax carving is a great technique to learn to add to your jewellery making skills because it is a fantastic way to experiment with an affordable material. You can also to make more organic shapes that are hard to achieve with traditional sheet metal and wire.
Jewellers wax
There are different types of jewellers wax available that are used for different purposes.
File-a-wax - Some waxes e.g. beeswax are too soft to carve and shape and are problematic to try to use in warm temperatures so file-a-wax products were developed. These are designed specifically for jewellers to use to file and shape.
One of the main brands that jewellers use is Ferris. Ferris wax comes in four different colours (with green and blue most used).
Green: A very hard wax, it can’t be flexed. Ideal for sharp edges and for intricate carvings and delicate engraving.
Purple: General purpose, hard with some flexibility.
Blue: Less hard and more flexible than green or purple. Good for rounded surfaces and less intricate designs. This is a popular choice with jewellers and the one we suggest you try first
Turquoise: Displays exceptional surface finish, especially in recessed areas. Maintains superior strength, toughness and extreme flexibility.
Sheet wax - good for cutting, moulding and modelling but not as good for carving
Wax profile wire and tube - wax in the form of wire or tube, can be bent and twisted, used for hinges etc just like metal wire
The wax can also be purchased in other shapes including ring and flat-sided ring for carving rings and block. The size and shape you need depends on your design idea, for a more dainty ring design choose a small diameter of wax e.g. 22.2mm. For a chunkier look choose a bigger diameter e.g. 27mm.
Tip: If you will be working on different types of design then choose the thicker diameter of wax as it is the most versatile
Tools for wax carving
If you’re interested in learning more about the tools used for wax carving check out our previous blog post >
What do i do once i’ve carved my design?
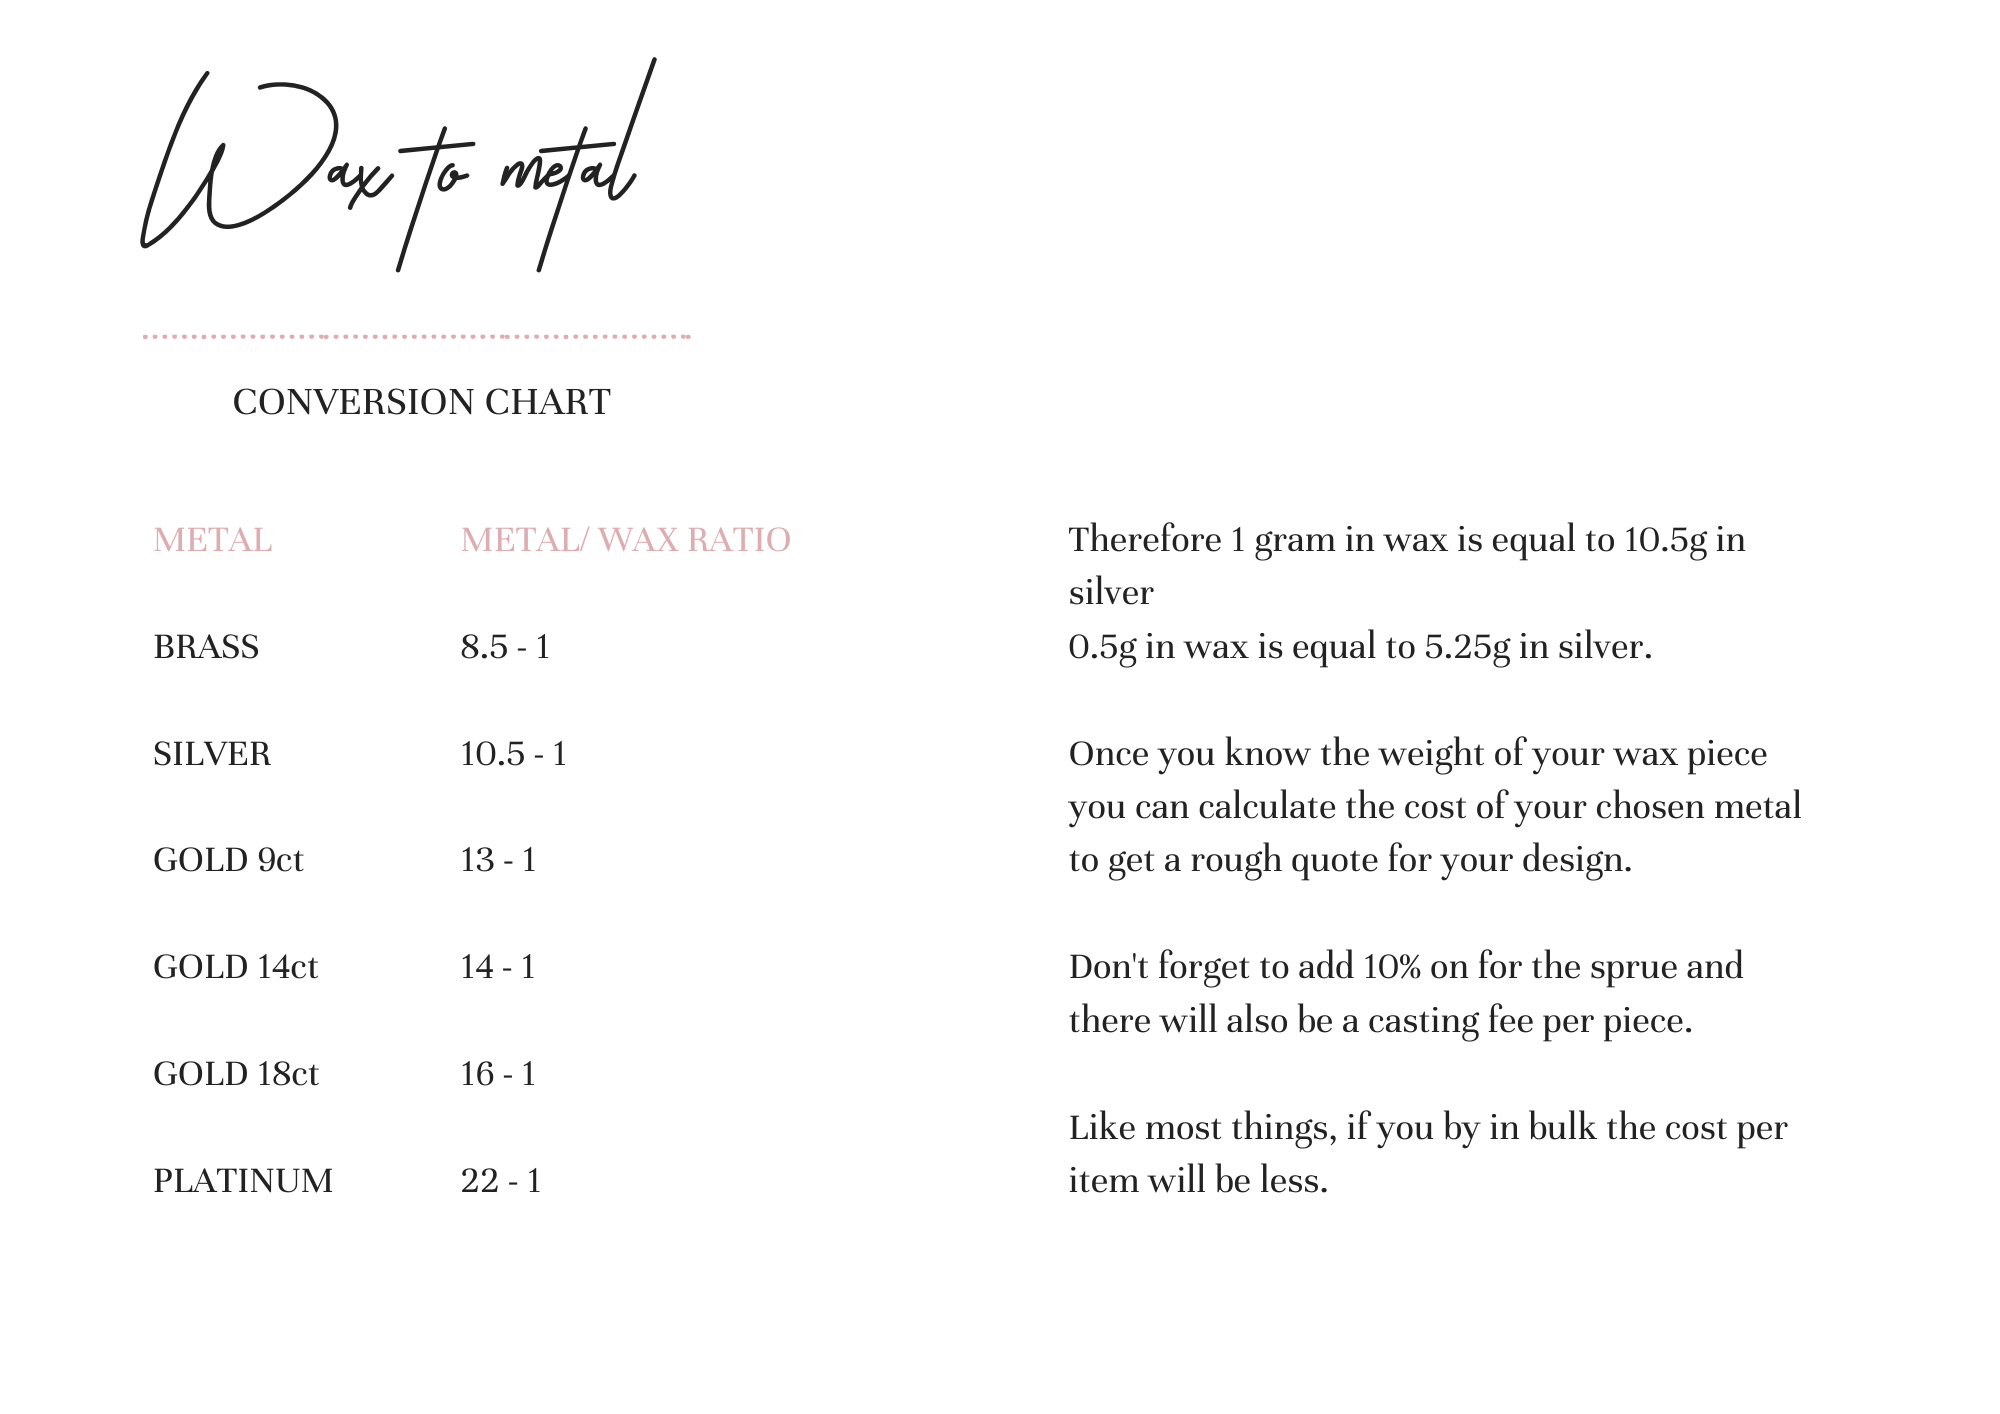
When you have carved and finished your jewellery you will need to decide which metal you would like to have it cast in. You can do a quick calculation of how much the cast piece will weigh using the wax to metal conversion chart below. Remember that the wax is light, 10 times lighter than silver and 16 times lighter than 18 carat gold so you’ll need to account for this in your designs. This is also the way to calculate the cost of the casting. Casters charge a fee for the casting plus the cost of the metal by weight so ask your caster the current costs, remembering that metal costs fluctuate daily.
The majority of jewellers send their wax pieces to a specialist caster. You can learn to cast your own work but this takes investment in additional equipment so it may be something to look at in the future if you find that you enjoy the process.
How do I find a caster?
You can do an internet search for casters in your country. Our tip is to ask for recommendations in jewellers forums e.g. Facebook groups.
What is the process of lost wax casting?
Do take a look at the video below which is a great summary of the process of lost wax casting
A sprue is added to your wax piece. This is like a branch of wax that is used to attach it to the wax tree. Tip: the caster should attach the sprue to a part of your piece that will be easy to file away and you can mark where you want the sprue to go with a sharpie
The wax tree is then put into an investment plaster cast which hardens and sets
The wax is burnt out, leaving a cavity in the cast (this is why it is called lost wax casting because the wax is lost in the process
Molten metal is poured into the cast
The metal is cooled and the investment cast discarded
The jewellery is cut from the metal tree leaving a sprue behind on the piece from where it was attached
The piece is returned to you for cleaning up and polishing. Alternatively, some casters offer a polishing and finishing service at an extra cost
How can I make multiples of my designs?
The casting process is great for making multiples of your designs. Once you have had your piece/s cast you will file and polish them so they are ready to be moulded.
You can see this process at the beginning of the video above. The ‘master’ - your finished piece of jewellery - is put into a silicone mould and vulcanised using heat and pressure. Once cool, this is then cut out of the silicone and the mould is now in two parts. When the mould is used, wax is injected into it so that the piece can be attached to the wax tree for casting.
If I’m making a ring, what size/s should I make?
When you make a ring design to sell you will need to decide on the ring size to make which you will then alter when a customer orders from you. It is usually best to make a larger size, e.g. a UK size S for a woman’s ring, and then size it down for the customer. This does, of course, depend on the design of the ring and how easy it will be to resize so it is worth taking into account. For example, if the band is intricate all around and it will be hard to remove some metal to resize it and keep the design so you may need to make more sizes of the same ring in wax for your collection.
Want to give wax carving a try? Why not take one of our FREE wax carving courses
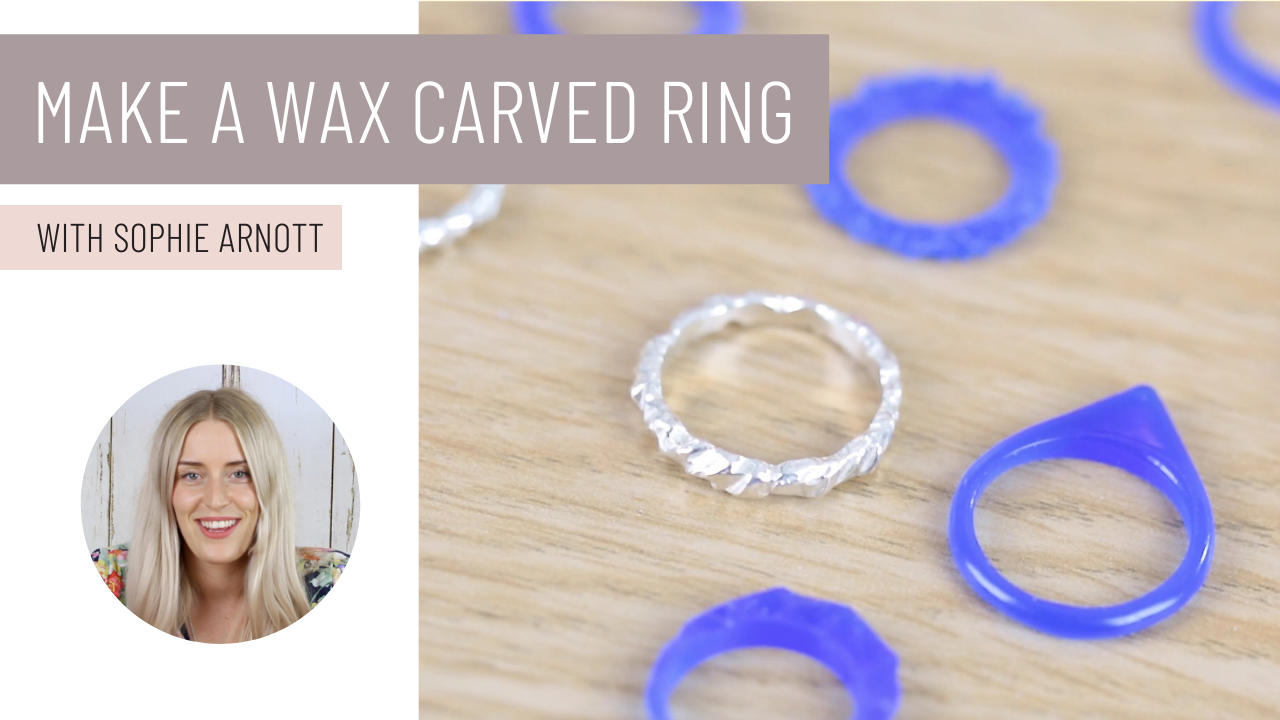
Make a wax carved ring
Suitable for complete beginners, this is a great course to get you started with wax carving covering:
Creating a design for your wax piece
Removing wax and creating a 3D design on your ring
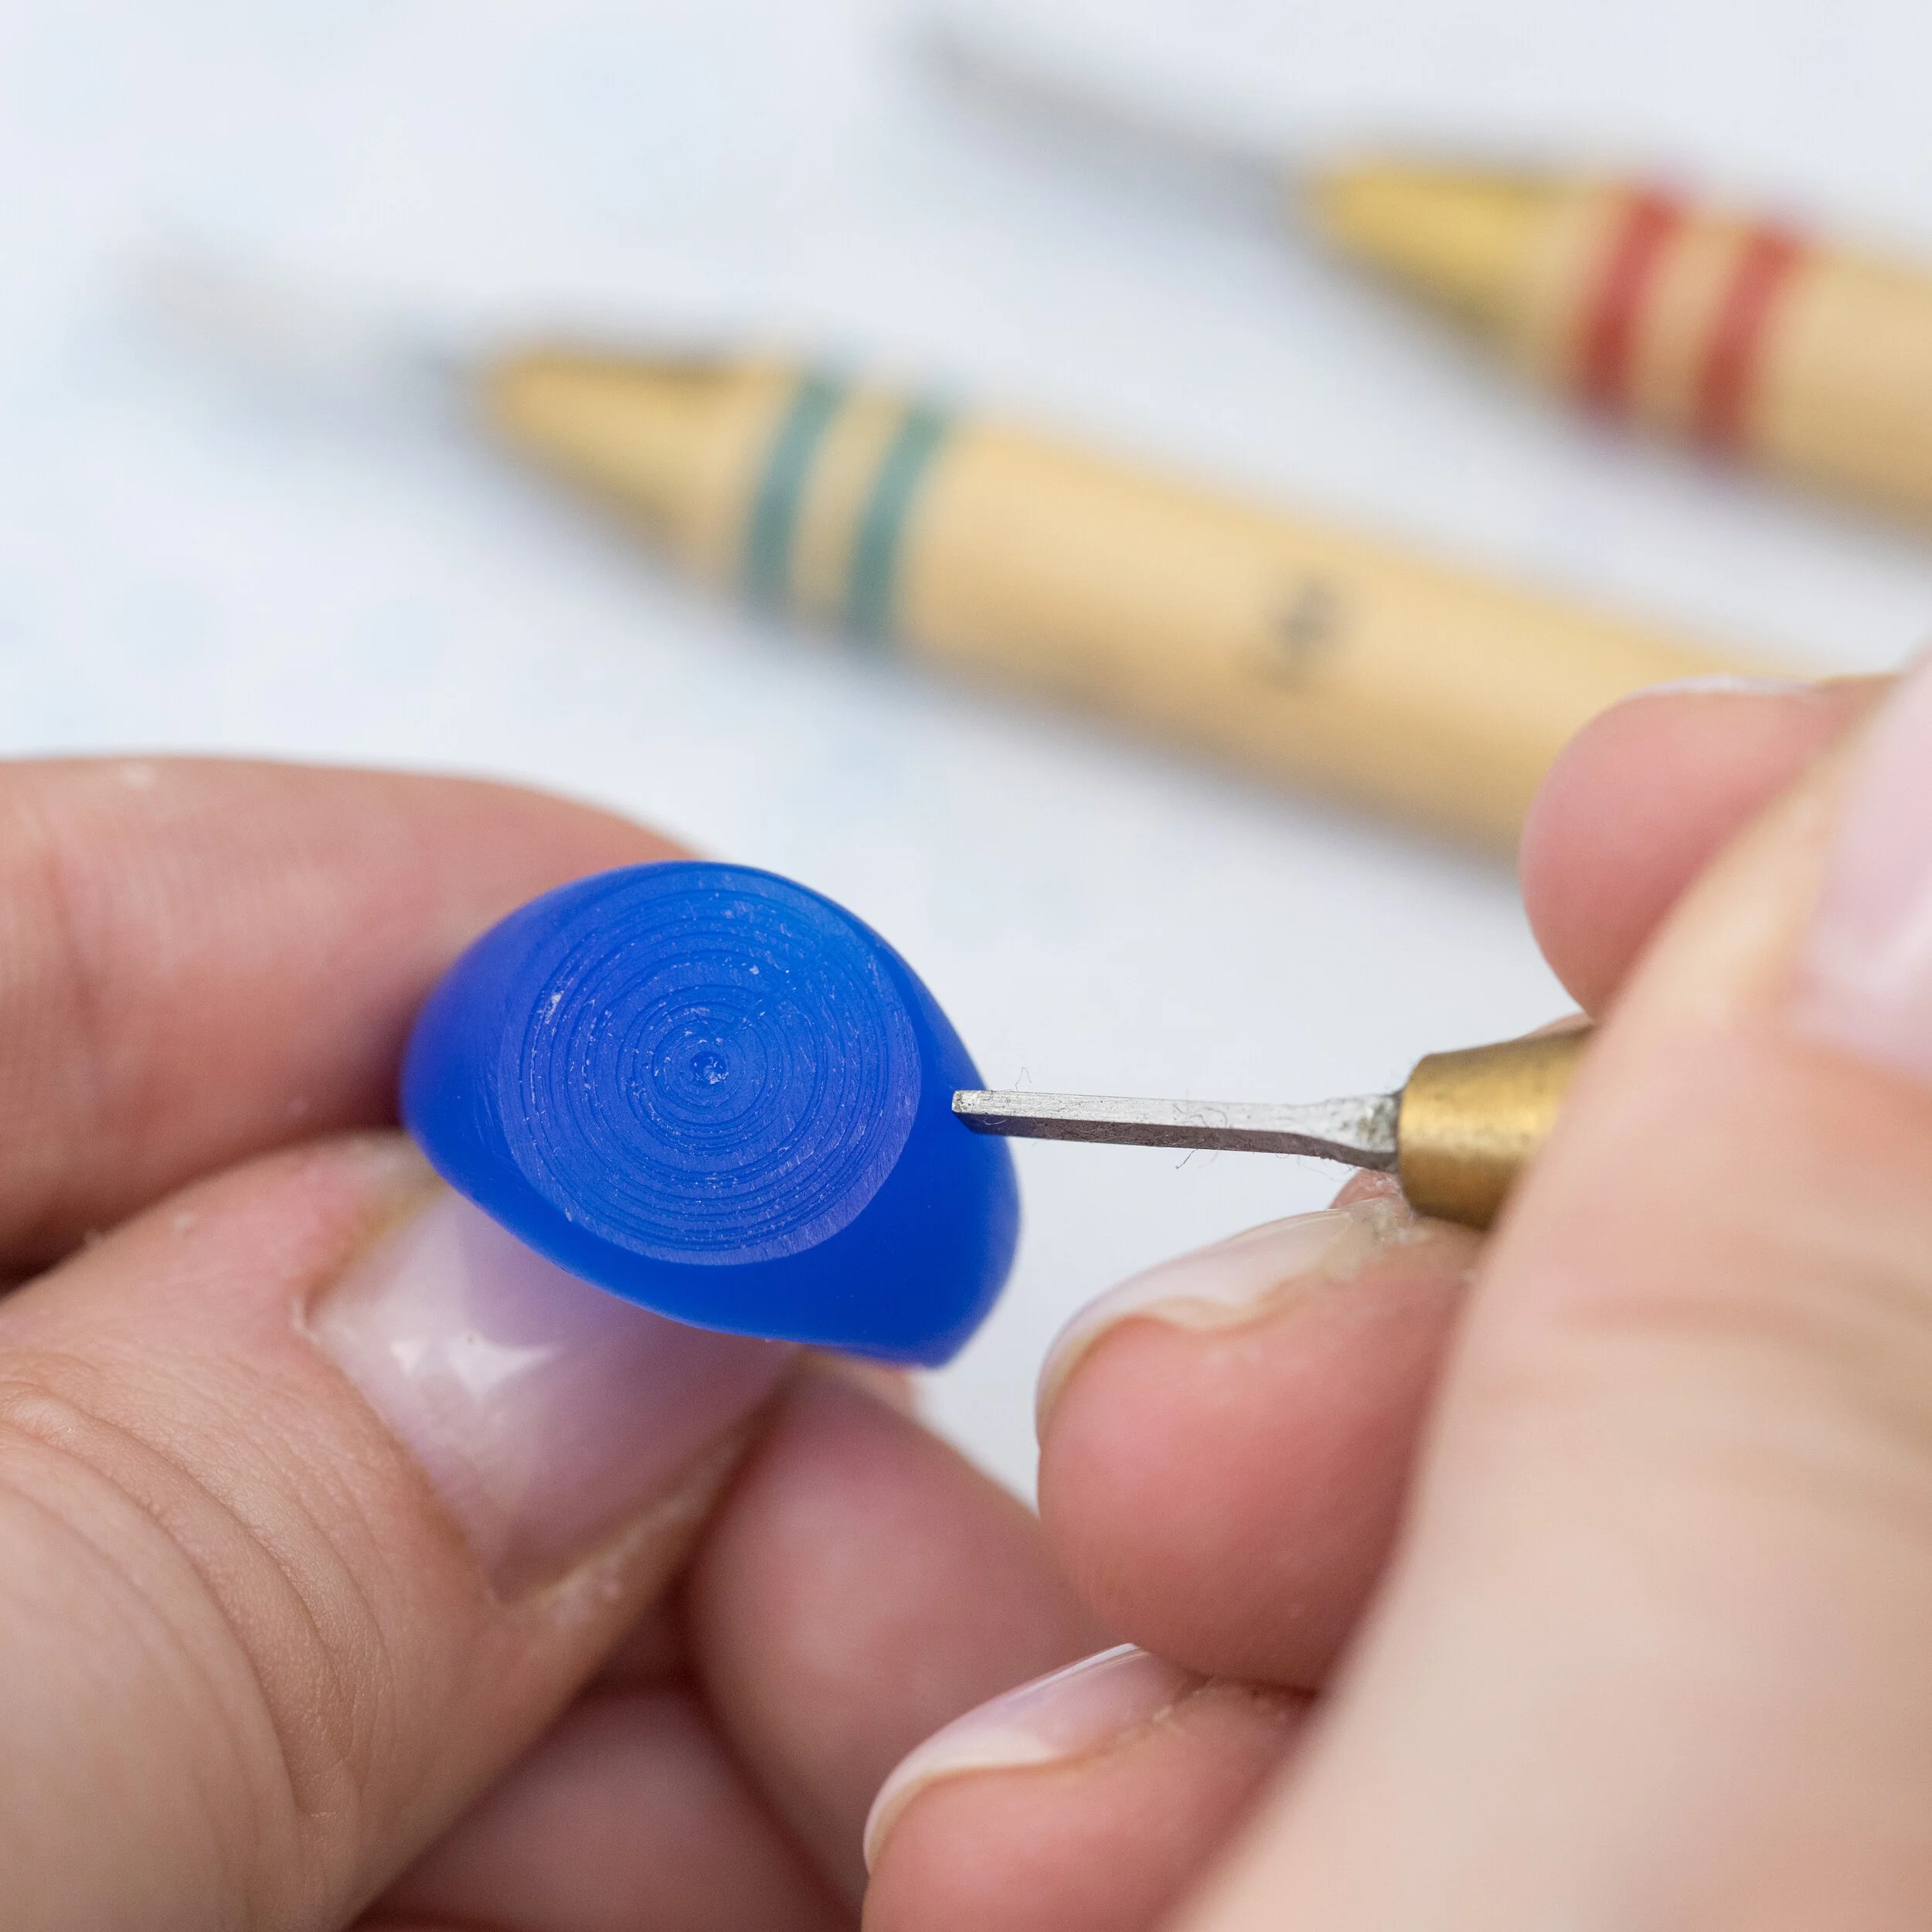
Using a file and scalpel to remove wax
Sanding and refining your piece
Creating a wax ring to size
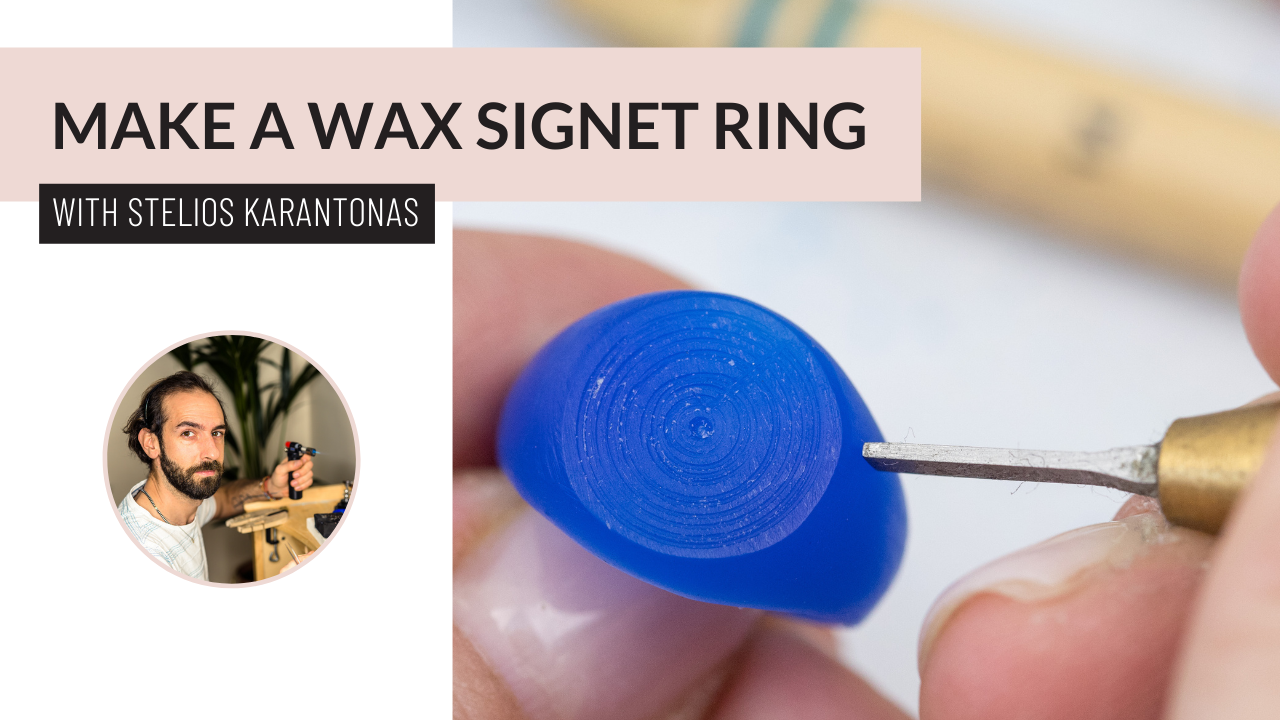
Make a Wax Signet Ring
Suitable for beginners as well as those with some experience of wax carving, this course covers:
Designing a signet ring in wax
How to carve your wax and prepare it for casting
How to carve your own unique design in the wax
How to clean up and polish your cast ring
The notes include information about the casting process as well as recommendations for casters you can use
(If you have an account with Jewellers Academy already do login before clicking the button above so that the course saves to your account)
I know you're going to enjoy this signet ring project and I can't wait to see the designs you come up with!
And if you enjoy these free courses and you'd like to learn more wax carving techniques check out our other courses

